Previously we let you know about 10 winterizing disasters to avoid, and in the interest of all of us being able to fish again next spring, we figured it would be a good idea to run through the process of proper winterizing, this month. But first, we want to congratulate anyone who hasn’t yet winterized their boat. We hope that we made it clear that there’s some awesome fishing to be done in our Mid-Atlantic bays and oceans right up into December — and in fact, beyond.
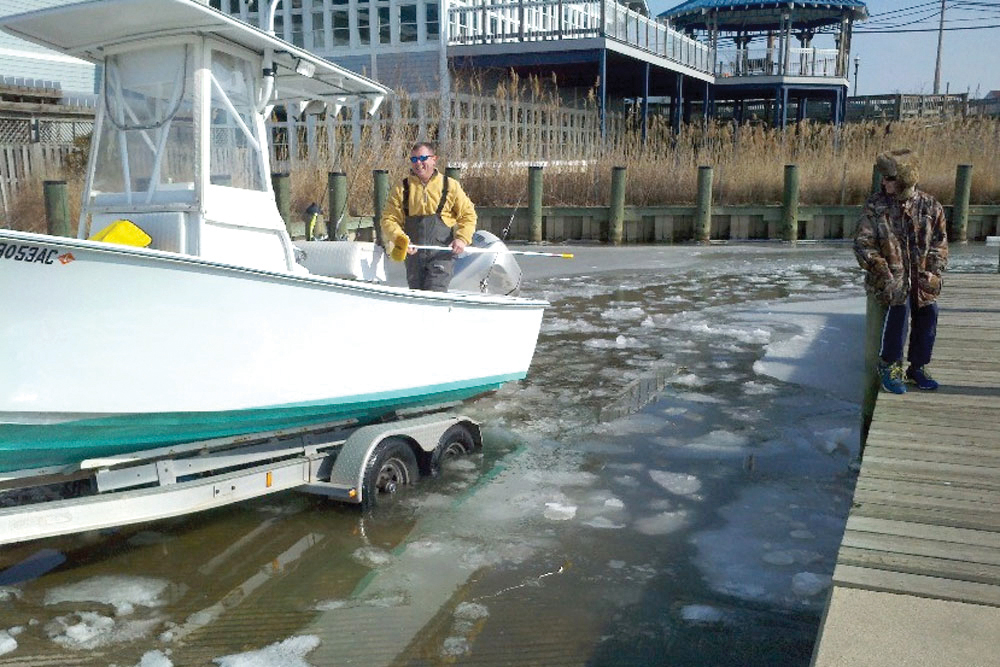
Still, we accept the fact that some of you won’t launch the boat and run to a wreck in horizontal snow for some tautog fishing in January, nor will you break through ice at the ramp to fish for rockfish at a power plant’s warm water discharge. While we think you should change your ways, we get it (sort of). So here’s the scoop on how to winterize your boat, in five easy steps.
1. Change the lower unit and powerhead oil on your outboard(s).
This needs to happen regardless of when you last changed the oil for two reasons: if any water got into the lower unit you’ll avoid catastrophic freeze damage, and potential acid build-up on the powerhead oil means you should always change it before letting it sit for an extended period of time. Next, if the engine will sit for more than a month, either fog it with fogging fluid (if its carbureted) or run gas treated with EFI fogging oil through the motor (if it’s an EFI). Alternatively, you can simply hook up a water supply and run your engine until it’s warm every other week; truth be told, the very best way to winterize an outboard is to use it.
After you’ve run the fogging fluid or oil through the system and shut the engine off, STOP right there. You do not need to run antifreeze through an outboard, period. They’re designed to drain completely in the tilted-down position, and do not need an ounce of antifreeze.
That’s it for outboards, but if you have a stern-drive or an inboard you will need to run antifreeze through it and you’ll also have some plugs to pull and potentially a few other items to deal with depending on the brand; in the case of stern drives and inboards, we recommend breaking out the owner’s manual or taking the boat to a pro.
2. Drain the systems.
Just pulling your boat will get the bulk of this job done when it comes to livewells and washdowns, but you can’t depend on that completely. Usually there will be some water left behind in one or both systems. After the boat’s on the hard, start by running the pumps for just a minute or two (you don’t want to let them run dry too long or damage can occur). Then, pull the supply lines from the seacocks. Dump some non-toxic antifreeze into a bucket (the pink stuff, not the green stuff), submerge the end of the supply line in the antifreeze, and run the pumps until you see the antifreeze come out the end of the washdown hose, and the livewell intake. Finally, replace the end of the line on the seacock so you don’t forget all about it, and have any mishaps when you launch again next spring.
Next, drain the water from and run antifreeze through any and all other onboard systems that have water in them. This includes freshwater systems, transom showers, heads, and the like. Use the same process of filling a bucket with antifreeze and inserting the end of the intake hose into the bucket, to get the pink stuff flowing through your boat’s veins.
If your boat has a porta-pottie, you’ll need some extra equipment: latex gloves, a latex body suit, rubber boots, and twelve cans of spray deodorant. After ensconcing yourself in the latex and rubber carry the porta-pottie to the gunwale of the boat, and yell at your kids until they submit to taking it inside and dumping the contents in the toilet. Then, much like fogging a carbureted outboard, use the deodorant to fog yourself, your house, and your kids.
Note: if you have a large boat with a stand-up head, a shower, a galley and the like, you should seriously consider taking the boat to a professional. We’re penny pinchers, too, but even we realize that sometimes it’s best to pay now instead of paying more, later.
3. Treat your fuel with a stabilizer.
Even before ethanol became an issue, treating the fuel for winter storage was important. Gasoline loses octane over time, and gas laced with ethanol gathers water. We’ve used Star Tron in the past and found it effective, but since Formula X2 became a FishTalk advertiser we spent a season testing it, and discovered that it did an excellent job of getting rid of water in the fuel and keeping our test-engine running smooth. Check out the video we shot of treating water-contaminated fuel with X2 below, or read about our test in the October Hot New Gear article.
Whatever product you choose, the important thing is just to make sure that fuel is stabilized. And that means fuel in the lines, too. Just dumping this stuff into the fuel tank doesn’t quite get the job done. You also need to start and run the engine for a few minutes to be sure the treated fuel has made its way through the entire system.
4. Cover your boat.
This is easier said than done – remember disaster number four, Terror of the Tarps, from last month? A poorly fitted cover can do more harm than good, wearing away a beautiful finish if stiff winter winds saw it back and forth against your gel coat or outboard cowls. There are only two good solutions: either get a custom-fitted cover - fitted covers are available for many popular fishing boat models from Westland - or have the boat shrink-wrapped. The down-side to shrink wrap is, of course, that once that stuff is on the boat you have exactly zero chance of using it if there's an unusually warm day or a red-hot winter bite. By the way, you know those DIY shrink-wrapping kits? Forgeddaboudit. A standard shrink wrap heat gun can be about 3500 degrees at the tip, and one wrong move can melt or ignite various parts of your boat. Again, this is a situation in which we recommend calling a pro.
If you opt for the fitted cover, don’t buy the cheapest one on Amazon. These are made from nylon or a cotton-poly weave, and they won’t fit well nor last long. Polyester or better yet acrylic (the stuff Sunbrella is made from) is a much better cover material. Also look for the ounce rating of the cover, which describes how many ounces a square yard of the material weighs. Two or three ounce cloth won’t survive more than a season or two. Six to 10 ounce cloth is the good stuff. And naturally, try to find a cover that’s reinforced at stress points like window frames and transom corners.
5. Check on your boat on a regular basis, especially after heavy snow, rain, or wind.
Boat covers can work themselves free. Shrink wrap can get pierced or stretched. Vandalism happens. And if your boat becomes flooded or exposed due to any problems like these, the longer it sits without attention the worse the end result will be. We’ve all seen neglected boats sitting in a corner of the boatyard, with tattered covers flapping in the wind. They look like they haven’t been attended to in weeks if not months, and often, that’s because no one’s been checking up on them. Those are the boats that probably won’t be ready to use, come spring—and you don’t want to risk missing the hottest bite of the year, just because your boat wasn’t winterized properly.